Cute Christmas Reindeer 3D Model: A Guide to Quality Printing and Digital Use
The holiday season thrives on atmosphere, and few things capture the spirit of winter wonder quite like a Cute Christmas Reindeer 3D Model. Whether you are a seasoned maker looking to expand your seasonal decor collection or a digital artist seeking charming assets for a festive scene, this model offers a unique blend of expressive detail and approachable design. It is not merely a static figure; it represents a magical moment brought to life, capturing the excitement of a new creature emerging into a snowy world. However, achieving the best results—whether in physical print or digital rendering—requires more than just downloading a file. Many enthusiasts overlook critical preparation steps, leading to wasted filament, failed prints, or lackluster visual presentations.
Understanding the Versatility of the Design
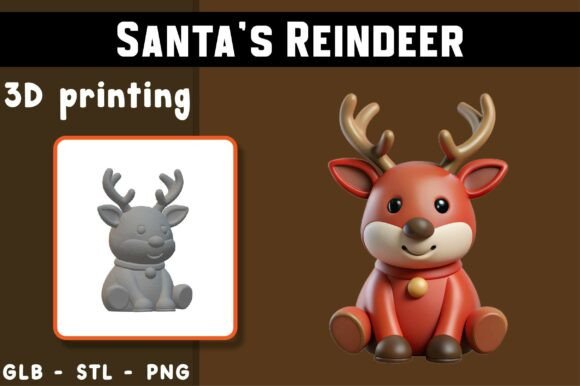
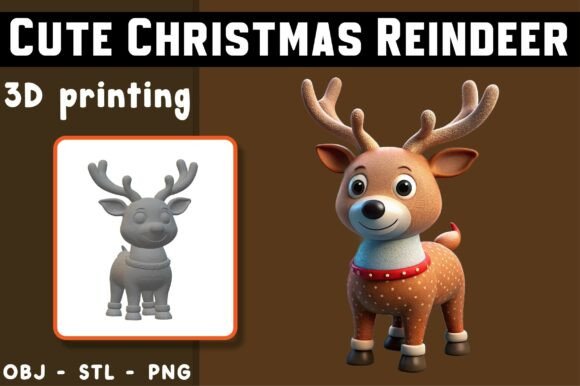
Before diving into technical specifics, it is essential to understand what makes this specific reindeer model stand out. Designed with clean geometry and gentle, story-rich charm, it appeals to collectors, fantasy lovers, and anyone who enjoys imaginative creations. The model is versatile, provided in multiple formats to suit different needs: STL for 3D printing, OBJ for digital showcasing and augmented reality, and PNG for high-quality reference. This multi-format approach ensures that whether you are a hobbyist with a home printer or a marketer creating holiday content, you have the right tools at your disposal. Yet, the availability of these files does not guarantee success. The gap between downloading a file and holding a pristine, magical figurine is bridged by knowledge and preparation.
Common Mistakes in 3D Printing Preparation
One of the most frequent errors beginners make is assuming that "beginner-friendly" means "print-ready without inspection." While the Cute Christmas Reindeer 3D Model is designed for smooth, reliable print results, skipping the slicer preview is a recipe for disappointment. Many users load the STL file directly into their printer’s interface or use default slicer settings without adjusting for the model’s specific overhangs and details. This oversight often leads to stringing, layer shifting, or collapsed antlers, ruining the delicate aesthetic of the piece.
Another common misunderstanding involves support structures. Because this model features expressive details and organic shapes, supports are often required. Some users attempt to print without them to save material or avoid post-processing cleanup. This decision frequently results in sagging geometry, particularly in the reindeer’s limbs or head. Conversely, others use excessive support density, making removal difficult and potentially damaging the surface finish. The key is balance: generate supports only where necessary and adjust the support interface layers to ensure clean separation.
Navigating File Formats and Digital Usage
For those interested in digital applications, such as AR experiences or game assets, choosing the wrong file format can hinder workflow efficiency. The included OBJ file is ideal for previews and digital showcasing, yet some users mistakenly try to use the STL for texturing and rendering. STL files contain only mesh geometry without UV maps or color data, making them unsuitable for high-fidelity digital art. Always use the OBJ or GLB files for digital projects to preserve the model’s integrity and ease of manipulation.
Additionally, the provided PNG is a rendered reference image, not a printable texture map. A frequent mistake is attempting to use this PNG as a decal or texture without proper projection mapping, resulting in distorted visuals. Instead, use the PNG as a visual guide for lighting and composition when setting up your own renders. This approach ensures that your digital presentation matches the magical quality intended by the designer.
Material Selection and Printer Settings
The choice of material significantly impacts the final appearance of your Cute Christmas Reindeer 3D Model. While PLA is the go-to for beginners due to its ease of use, selecting the wrong color or finish can diminish the model’s charm. For a traditional holiday look, consider using matte white or soft red filaments to mimic snow and festive attire. Glossy filaments may highlight layer lines more prominently, detracting from the smooth, clean geometry the model is known for.
Printer orientation is another critical factor. Printing the reindeer upright may seem intuitive, but it often requires extensive supports and risks visible seam lines on the front face. Rotating the model to lie on its side or back can reduce support usage and improve surface quality on visible areas. Always check the slicer’s preview mode to visualize layer adhesion and support contact points before committing to a print that could take several hours.
Post-Processing and Presentation Tips
Even with perfect printing, post-processing plays a vital role in achieving a professional finish. Many users skip sanding or priming, leaving visible layer lines that break the illusion of a seamless, magical creature. Light sanding with fine-grit paper, followed by a primer coat, can smooth out imperfections and prepare the surface for painting. If you plan to paint the model, use acrylics with fine brushes to highlight expressive details like the eyes and hooves. This attention to detail transforms a standard print into a centerpiece worthy of display.
For digital creators, lighting setup is paramount. The model’s charm relies on soft, inviting aesthetics. Harsh, direct lighting can create unnatural shadows that obscure details. Instead, use three-point lighting with softboxes or area lights to evenly illuminate the reindeer, enhancing its gentle features. Experiment with warm color temperatures to evoke a cozy, holiday atmosphere.
Verifying Quality Before Commitment
Before downloading or purchasing any 3D model, including this Cute Christmas Reindeer 3D Model, always review the provided previews and descriptions carefully. Check for manifold errors or non-watertight meshes if you plan to modify the file. Ensure that the scale matches your intended use; a model designed for a small desk ornament may not translate well to a large outdoor display without scaling adjustments that could affect structural integrity.
Remember that this is a digital product, and no physical item will be shipped. Print results may vary depending on your specific hardware, materials, and slicer settings. By taking the time to understand these variables and avoiding common pitfalls, you can ensure that your experience with this model is both enjoyable and rewarding. Whether you are adding a touch of wonder to your physical collection or enhancing a digital project, proper preparation unlocks the full potential of this beautifully crafted design.
In conclusion, the Cute Christmas Reindeer 3D Model offers a delightful opportunity for creativity during the holiday season. By respecting the nuances of 3D printing and digital asset management, you can avoid frustration and achieve results that truly capture the magic of the season. Take the time to slice carefully, choose materials wisely, and present your creation with pride. The effort invested in preparation pays off in the form of a charming, high-quality piece that brings joy to viewers and satisfaction to creators.