Cute Gingerbread Man 3D Model: A Guide to Quality, Printing, and Digital Use
The holiday season often brings a surge of creativity, and few motifs capture the spirit quite like the classic gingerbread figure. However, finding a digital asset that balances whimsical charm with technical reliability can be surprisingly difficult. The Cute Gingerbread Man 3D Model aims to bridge this gap, offering a beautifully crafted scene that captures the excitement of a new creature emerging into a magical world. For collectors, fantasy enthusiasts, and 3D printing hobbyists, this model represents more than just a festive decoration; it is a study in expressive detail and gentle, story-rich design.
Yet, many users approach digital downloads with misconceptions that lead to frustration. Whether you are a beginner looking to print your first figurine or a professional seeking assets for augmented reality projects, understanding the nuances of file formats, slicing settings, and digital rights is crucial. This guide addresses common pitfalls and provides practical advice to ensure your experience with this model is both satisfying and successful.
Understanding the Asset Beyond the Render
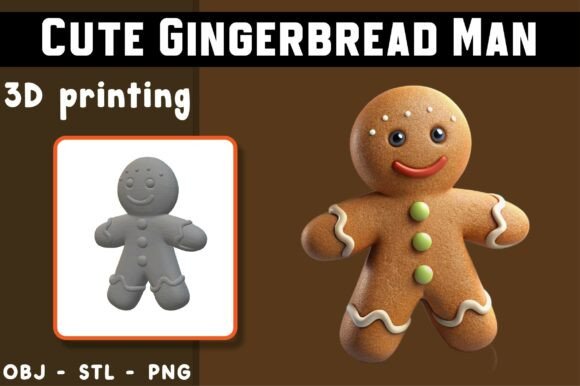
One of the most frequent mistakes buyers make is assuming the rendered image perfectly predicts the physical outcome. The included PNG file is a high-quality rendered reference, designed to showcase the model’s potential under ideal lighting and post-processing conditions. It is not a printable file, nor does it guarantee that your specific printer will replicate those exact textures without effort.
The Cute Gingerbread Man 3D Model is an AI-assisted design, which means it leverages advanced algorithms to create organic, smooth geometries. While this results in a visually appealing aesthetic, it also requires users to pay close attention to the underlying mesh. The model features clean geometry intended for easy slicing, but "clean" does not always mean "error-free" for every slicer software. Beginners often overlook the need to preview the STL file in their specific slicer before committing to a print. Skipping this step can lead to unexpected support structures, wall thickness issues, or orientation problems that compromise the final quality.
Navigating File Formats: Choosing the Right Tool for the Job
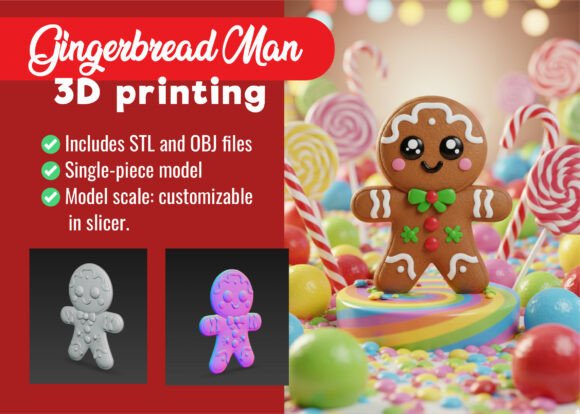
A critical aspect of utilizing any digital 3D asset is selecting the correct file format for your intended use. A common misunderstanding is treating all files as interchangeable. This package includes three distinct formats, each serving a specific purpose:
- STL: This is the standard for 3D printing. It contains the geometric data necessary for your printer to build the object layer by layer. If you are creating a physical display piece, this is your primary file.
- OBJ: Ideal for digital showcasing, AR applications, or further editing in 3D modeling software. Unlike STL, OBJ files can retain color and texture information, making them superior for visual presentations where printing is not the goal.
- PNG: As mentioned, this is a static reference image. It cannot be imported into slicers or 3D editors for manipulation.
Using the OBJ file for printing when an STL is available can sometimes cause compatibility issues with older slicers, while attempting to use the STL for high-fidelity digital renders may result in a lack of surface texture detail. Always match the file type to your workflow. For entrepreneurs and marketers using this model for promotional content, the OBJ format combined with proper lighting in a rendering engine will yield far better results than a photograph of a printed prototype.
Printing Pitfalls and How to Avoid Them
Even with a beginner-friendly design, 3D printing remains a process sensitive to variables. The Cute Gingerbread Man 3D Model is designed to deliver smooth, reliable print results, but "reliable" is contingent on proper machine calibration. Here are common errors and how to correct them:
Ignoring Orientation and Supports
Many users print models in the default orientation provided by the slicer. However, for a figure with expressive details and potential overhangs, orientation is key. Printing flat may reduce supports but can compromise surface quality on the front face. Printing upright may preserve detail but require careful support placement. The disclaimer notes that supports may be required. Ignoring this leads to failed prints or damaged details during support removal. Always generate supports in your slicer and preview the toolpath to ensure supports touch only non-critical areas.
Misjudging Scale and Detail Loss
Scaling down the model too much can cause fine details to disappear or become unprintable due to nozzle limitations. If you are using a standard FDM printer with a 0.4mm nozzle, shrinking the model below a certain threshold will merge small features. Conversely, scaling up too much without increasing layer height adjustments can result in visible layer lines that detract from the "magical" aesthetic. Test print a small section or use a low-infill draft mode to check scale before committing to a full, high-quality print.
Overlooking Material Properties
The choice of filament affects the final look significantly. PLA is recommended for beginners due to its ease of use, but it can be brittle. For a decorative display piece that might be handled, consider PETG for added durability. If you aim for a traditional gingerbread look, brown or tan filaments are obvious choices, but remember that painting post-print can achieve more nuanced results. Failing to account for material shrinkage or warping can distort the model’s proportions, ruining the character’s expressive charm.
Digital Use and Commercial Considerations
For bloggers, educators, and small business owners, the digital application of this model is just as important as the physical one. The GLB file (often converted from OBJ) is provided for visualization and digital use. However, slight variations may occur between different viewing platforms. When embedding this model in a website or AR experience, ensure your platform supports the specific texture maps included with the OBJ file. A common mistake is uploading the geometry without the associated materials, resulting in a grey, untextured model that fails to engage the audience.
Furthermore, always verify the licensing terms. While this model is AI-assisted, the rights to use it commercially may vary depending on the marketplace where it was purchased. Entrepreneurs should never assume a download includes unlimited commercial rights. Check the specific license agreement to avoid legal complications when using the Cute Gingerbread Man 3D Model in products for sale or marketing campaigns.
Final Checks Before You Commit
To ensure satisfaction and avoid wasted time or material, follow this checklist before finalizing your project:
- Preview the STL: Open the file in your slicer software. Check for manifold errors, inverted normals, or unintended holes in the mesh.
- Verify Scale: Measure the model in the slicer to ensure it fits your build plate and meets your size requirements.
- Test Supports: Generate supports and rotate the model to find the orientation that minimizes support contact on visible surfaces.
- Check Digital Assets: If using for AR or web, open the OBJ/GLB in a viewer to confirm textures load correctly.
- Review Disclaimer: Remember that this is a digital product. No physical item will be shipped, and print results depend on your specific hardware and settings.
By approaching the Cute Gingerbread Man 3D Model with a clear understanding of its technical requirements and potential pitfalls, you can transform a simple download into a stunning centerpiece for your holiday collection or digital portfolio. Whether you are printing for joy or designing for engagement, attention to detail ensures the magic of the season is captured accurately and beautifully.