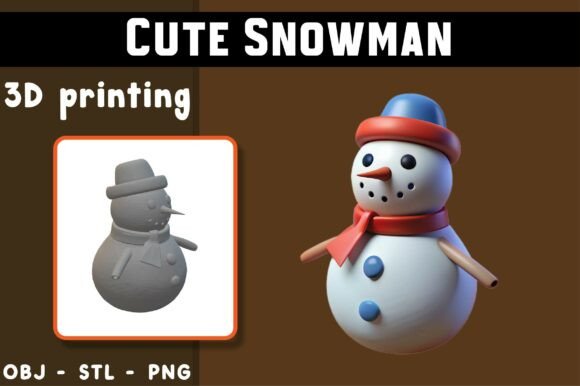
Cute Snowman 3D Model: A Guide to Quality, Printing, and Digital Use
There is a distinct charm in discovering a Cute Snowman 3D Model that transcends simple geometry. It is not merely about stacking spheres; it is about capturing a magical moment where a new creature emerges into the world, filled with expressive details and gentle, story-rich charm. For collectors, fantasy lovers, and creators looking to add a touch of wonder to their digital or physical collections, this model offers a unique blend of whimsy and technical precision. However, whether you are a seasoned professional or a beginner dipping your toes into additive manufacturing, the path from downloading a file to holding a finished piece is fraught with potential pitfalls. Understanding the nuances of this specific design can save you time, material, and frustration.
Understanding the Versatility of the Design
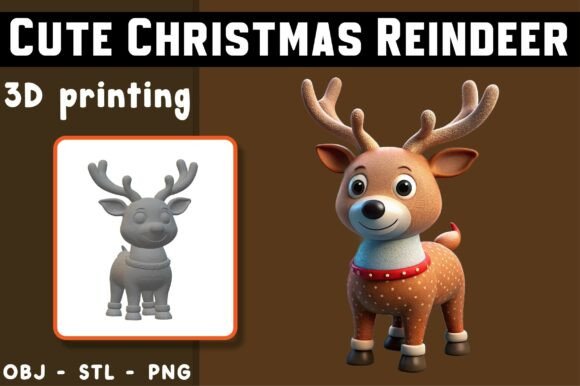
The appeal of this snowman lies in its dual nature. It is designed to be both a tactile object for 3D printing and a digital asset for virtual environments. The included file formats—STL, OBJ, and PNG—cater to these different needs. The STL file is ready for slicing and printing, featuring clean geometry that facilitates easy processing. The OBJ format is ideal for those who wish to showcase the model in augmented reality (AR) applications or use it as a prop in digital renders. Meanwhile, the high-quality PNG serves as a reference, helping you visualize the intended finish before you commit to a print.
Many users overlook the importance of the OBJ file, assuming it is redundant if they only intend to print. This is a missed opportunity. If you are an entrepreneur or marketer creating product listings, using the OBJ in a web-based viewer can significantly increase engagement. It allows potential buyers or viewers to rotate and inspect the model’s charming details virtually, building confidence in the quality of the design before they even consider purchasing or downloading.
Common Mistakes in Slicing and Preparation
One of the most frequent errors beginners make is assuming that "beginner-friendly printing" means "zero preparation required." While the Cute Snowman 3D Model is designed with clean geometry to deliver smooth, reliable print results, it is not immune to the laws of physics. A common misconception is that supports are never needed. In reality, depending on your printer’s calibration and the specific orientation you choose, supports may be required for overhanging features such as the snowman’s arms or facial expressions.
Ignoring the need to preview the STL file in your slicer is a critical oversight. Many users load the file and hit "print" immediately. This can lead to failed prints where layers detach or fine details collapse. Always take a moment to slice the model and examine the layer preview. Look for any islands or unsupported overhangs. If you see them, adjust your orientation or enable tree supports, which are often easier to remove and leave fewer marks on the final surface.
The Impact of Printer Settings on Detail
Another area where users often stumble is in the selection of print settings. Because this model is described as having "expressive details," using a standard draft mode with a large nozzle diameter can obliterate the very features that make the snowman charming. If you are using a 0.4mm nozzle, consider lowering your layer height to 0.12mm or 0.16mm. This increases print time but ensures that the gentle curves and facial features remain crisp rather than becoming stepped and jagged.
Furthermore, material choice plays a significant role. PLA is generally recommended for its ease of use and ability to hold fine detail without warping. However, if you are printing in a cold environment, ensure your bed adhesion is secure. A detached base can ruin the entire print, wasting both time and filament. Using a brim can help anchor the model during the initial layers, providing stability for the vertical build that follows.
Digital Usage and File Integrity
For those utilizing the model for digital purposes, such as game development or AR experiences, there are different considerations. The GLB file provided for visualization is optimized for real-time rendering, but slight variations may occur when importing it into different engines like Unity or Unreal Engine. Users sometimes mistake these variations for file corruption. In most cases, this is simply a difference in how shaders and lighting are interpreted across platforms.
It is essential to check the scale and axis orientation upon import. A common frustration arises when the model appears upside down or disproportionately large. Taking a few minutes to verify these settings in your software can prevent hours of troubleshooting later. Additionally, remember that the PNG is a rendered reference image and is not a printable file. Attempting to convert a 2D image into a 3D model using automated tools will result in a poor-quality mesh that lacks the structural integrity and aesthetic appeal of the original design.
Evaluating Expectations vs. Reality
A crucial aspect of working with any AI-assisted 3D design is managing expectations. The disclaimer notes that print results may vary depending on your printer, materials, slicer settings, and orientation. This is not just legal boilerplate; it is a practical reality. Two identical printers can produce slightly different results due to mechanical tolerances. Therefore, do not expect your first print to match the promotional PNG perfectly. Instead, view the first print as a test. Adjust your settings based on the outcome. If the surface finish is rough, slow down the print speed. If details are missing, reduce the layer height.
For small business owners and educators, this iterative process is valuable. It teaches problem-solving and technical literacy. When presenting the final product, be transparent about the handmade nature of 3D printed items. Minor layer lines or support marks are not defects; they are evidence of the manufacturing process. Sanding and painting can elevate the model from a prototype to a polished display piece, enhancing its story-rich charm.
Making the Right Choice for Your Project
Before downloading or purchasing the Cute Snowman 3D Model, ask yourself what your primary goal is. Are you looking for a quick decorative item for your desk? Or are you creating a centerpiece for a holiday display? If it is the latter, consider printing multiple copies at different scales to create a scene. The clean geometry makes it scalable, allowing you to experiment with size without losing structural integrity.
Also, consider the audience. If this model is for children, ensure that any small parts are securely attached or printed as a single unit to prevent choking hazards. If it is for a professional portfolio, focus on post-processing. A well-painted snowman can demonstrate your skills in both digital modeling and physical fabrication.
In conclusion, this model offers a delightful intersection of art and technology. By avoiding common mistakes in slicing, respecting the limitations of your hardware, and understanding the specific uses for each file format, you can ensure a successful experience. Whether you are a hobbyist looking for a fun weekend project or a creator seeking a unique asset, approaching the Cute Snowman 3D Model with patience and attention to detail will yield results that truly capture the magic of the season.