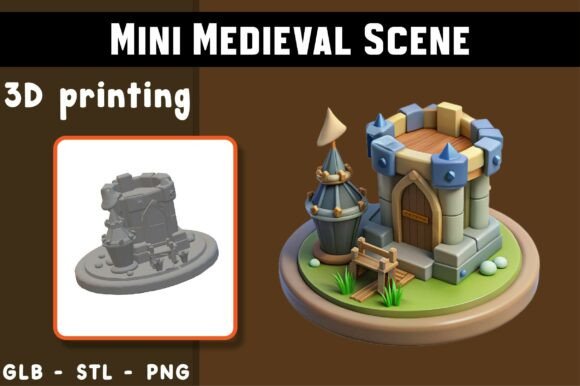
Minimalist Castle 3D Model: A Guide to Quality, Printing, and Digital Use
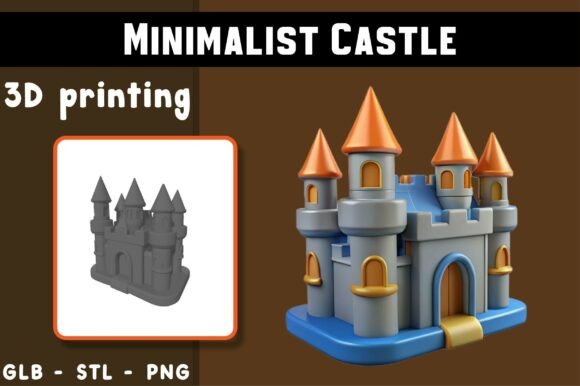
The appeal of a Minimalist Castle 3D Model lies in its ability to blend architectural grandeur with modern simplicity. Whether you are a hobbyist looking to expand your tabletop collection, an educator seeking visual aids for history lessons, or a digital artist curating a portfolio, this type of model offers a unique bridge between fantasy and functional design. However, the transition from downloading a file to holding a finished piece—or displaying it digitally—is fraught with potential pitfalls. Many users rush into printing or rendering without fully understanding the nuances of the file formats or the specific requirements of minimalist geometry.
Understanding what makes this model distinct is the first step toward a successful project. Unlike hyper-realistic scans that rely on millions of polygons to capture every brick’s imperfection, a minimalist castle relies on clean lines, balanced proportions, and intentional negative space. This approach is not just an aesthetic choice; it is a technical one. It reduces print time, minimizes material waste, and often results in a more durable physical object. Yet, this simplicity can be deceptive. Without proper preparation, even the cleanest geometry can fail during the manufacturing process or look flat in a digital environment.
Common Misunderstandings About File Formats
One of the most frequent errors creators make is assuming all 3D files are interchangeable. When you acquire a Minimalist Castle 3D Model, you will typically receive multiple formats, such as STL, OBJ, and PNG. Treating these as identical backups is a mistake that can lead to wasted time and poor results.
- STL (Stereolithography): This is the standard for 3D printing. It contains only the geometric surface data. If you attempt to open an STL in a video editing software or a web-based AR viewer, it may not load correctly or lack necessary texture coordinates.
- OBJ (Wavefront Object): Ideal for digital showcasing, augmented reality (AR), and previews. Unlike STL, OBJ files can carry more complex data, including vertex colors and texture maps. Using an OBJ for printing is possible but often unnecessary and can complicate the slicing process if the file includes unused metadata.
- PNG (Portable Network Graphics): This is a static, high-quality rendered image. A common misconception is that the PNG represents the printable quality. It does not. The PNG is a reference—a "what it could look like" snapshot. Relying on it to judge printability is misleading because lighting and post-processing in the render can hide structural weaknesses.
To avoid confusion, always match the file format to your end goal. If you are printing, stick to the STL. If you are building a website or an AR experience, use the OBJ or GLB. Never assume a renderer’s preview perfectly matches your printer’s output.
Overlooking Slicer Settings for Minimalist Geometry
Minimalist designs often feature large, flat surfaces and sharp angles. While this looks elegant, it presents specific challenges during 3D printing. A common oversight is using default slicer settings intended for organic, curved models. These defaults may not account for the thermal dynamics of printing large, flat layers.
When printing a castle structure, warping is a significant risk. Large flat bases cool unevenly, causing corners to lift from the print bed. To mitigate this, ensure your printer bed is perfectly leveled and consider using a brim or raft in your slicer software. Additionally, minimalist models often have thin walls or delicate turrets. If your infill density is too low, these structures may lack the internal support needed to remain rigid. Conversely, too much infill adds unnecessary weight and cost without improving strength.
Practical Advice: Before committing to a full print, perform a small-scale test or print a single turret. Check for layer adhesion and dimensional accuracy. Adjust your cooling fan speed; too much cooling can cause brittleness in PLA, while too little can lead to sagging on overhangs.
The Trap of Ignoring Support Structures
Even though the Minimalist Castle 3D Model is described as beginner-friendly, it does not mean it is support-free. Many castles feature arches, balconies, or overhanging roofs. A frequent mistake is attempting to print these features without supports, hoping the minimalist style will forgive minor sagging. It rarely does. Sagging ruins the clean aesthetic that defines minimalism.
However, adding supports indiscriminately is also problematic. Dense supports can leave scars on the smooth surfaces of a minimalist model, requiring extensive sanding and post-processing. The key is strategic placement. Use tree supports or custom-generated supports that touch the model only at critical points. Preview the STL in your slicer carefully to identify where gravity will work against you. If a section has an overhang greater than 45 degrees, it likely needs support.
Digital Presentation and Lighting Errors
For those using the model for digital displays, marketing, or AR, the mistake often shifts from physical mechanics to visual presentation. Minimalist models rely heavily on lighting to define their form. Without the intricate textures of a realistic scan, shadows and highlights become the primary tools for conveying depth.
A common error is using flat, uniform lighting. This makes the castle look two-dimensional and dull. Instead, use three-point lighting setups to create contrast. Highlight the edges and corners to emphasize the geometric precision. When exporting for web use, ensure the polygon count is optimized. High-poly OBJ files can slow down loading times on websites, negatively impacting user experience. Simplify the mesh if necessary, but retain the sharp edges that define the minimalist style.
Evaluating Quality Before You Commit
Before downloading or purchasing any 3D asset, including a Minimalist Castle 3D Model, take a moment to evaluate the source and the provided assets. Look for clear documentation regarding scale and orientation. Is the model centered? Is it scaled to millimeters or inches? Mismatched units can result in a castle that is either microscopic or impossibly large when imported into your software.
Check for manifold geometry. Non-manifold edges (holes in the mesh) can cause slicing errors. While many modern slicers can repair minor issues, it is better to start with a watertight model. If the provider offers a preview video or multiple angles, study them closely. Look for consistent wall thickness and logical structural connections.
Making the Right Choice for Your Project
Ultimately, success with this model depends on aligning your expectations with the tool’s capabilities. If you are a beginner, appreciate the clean geometry as a learning opportunity. It allows you to focus on fundamental printing skills—bed adhesion, temperature control, and support removal—without the complexity of intricate details clogging your nozzle. For professionals, the model serves as a versatile base for customization. You can add textures, modify heights, or integrate it into larger dioramas.
Remember that AI-assisted design, while innovative, requires human oversight. The disclaimer noting that print results may vary is not just legal protection; it is a practical reminder. Your printer, filament brand, room temperature, and slicer version all play roles. Treat the downloaded file as a starting point, not a guaranteed outcome. By taking the time to understand the file formats, optimize your slicer settings, and plan your supports, you transform a simple digital download into a tangible piece of art or a compelling digital asset. This mindful approach ensures that the magic of the emerging creature—or in this case, the majestic simplicity of the castle—is preserved in its final form.